
Installing a new clutch kit can be a daunting task, but with the right guidance, you can tackle the job with confidence and precision. Whether you’re a seasoned mechanic or a DIY enthusiast, this step-by-step installation guide for a Sachs clutch kit will walk you through the process from start to finish, ensuring a smooth and successful installation.
1. Gather Your Tools and Materials
Before you begin, gather all the necessary tools and materials for the job. You’ll need a socket wrench set, screwdrivers, pliers, a torque wrench, a clutch alignment tool, and of course, your new Sachs clutch kit. Make sure you have plenty of space to work and adequate lighting to see clearly.
2. Prepare Your Vehicle
Park your vehicle on a flat, level surface and engage the parking brake. Disconnect the negative terminal of the battery to prevent any electrical mishaps during the installation process. Then, raise the front of the vehicle using a jack and support it securely with jack stands.
3. Remove the Old Clutch
Start by removing the transmission from the engine. This typically involves disconnecting the driveshaft, starter motor, and any other components attached to the transmission. Once the transmission is out of the way, you can access the old clutch assembly. Use a socket wrench to loosen and remove the bolts holding the pressure plate in place, then carefully remove the pressure plate, clutch disc, and release bearing.
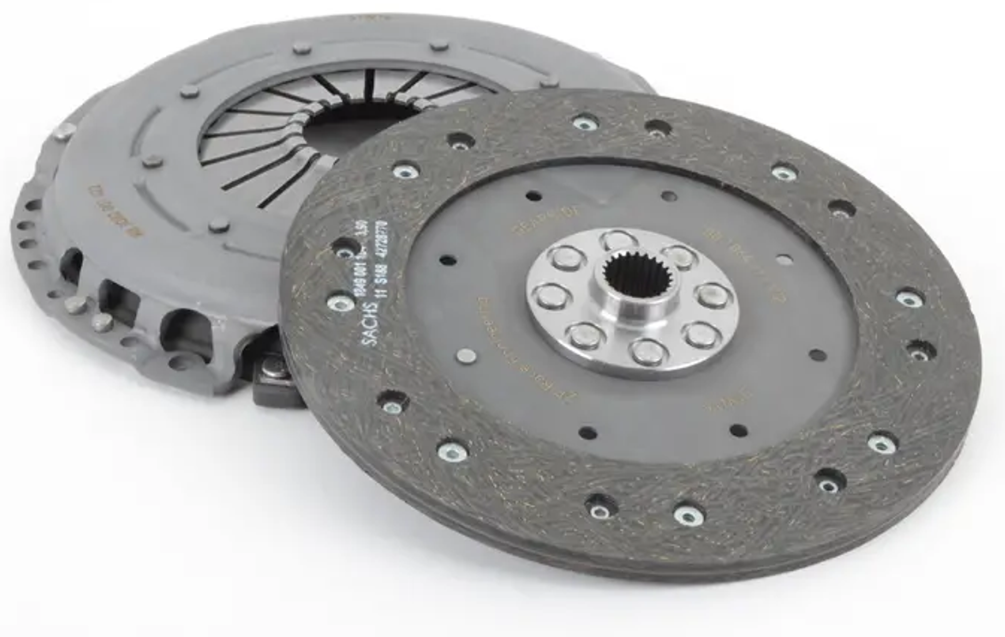
4. Install the New Clutch
Place the clutch disc onto the flywheel, making sure it’s properly aligned using the clutch alignment tool. Next, install the pressure plate over the clutch disc and secure it in place with the bolts provided in your Sachs clutch kit. Torque the bolts to the manufacturer’s specifications using a torque wrench.
5. Reassemble Your Vehicle
Once the new clutch assembly is installed, reattach the transmission to the engine and reconnect any components that were removed earlier. Double-check all connections and bolts to ensure everything is properly tightened and aligned.
Conclusion
In conclusion, installing a Sachs clutch kit doesn’t have to be intimidating. By following this step-by-step guide and taking your time to ensure accuracy and precision, best mechanic can successfully install a new clutch assembly and enjoy smooth and reliable performance from your vehicle. Whether you’re replacing a worn clutch or upgrading to a performance clutch kit, Sachs has you covered with high-quality products designed for durability and performance.